
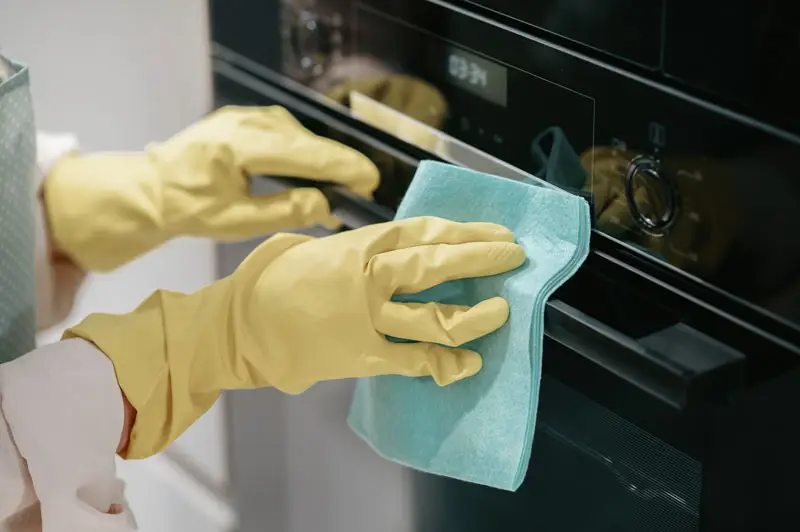
As the calendar turns and the holiday decorations are packed away, the home often feels ready for a reset, and nowhere is this more important than in the heart of the home. The kitchen, having likely served as the command center for holiday feasts and gatherings, often bears the brunt of the season’s festivities. It is common to find hidden grime and clutter that standard wiping simply cannot address, signaling the clear need for comprehensive kitchen cleaning.
Embracing a thorough deep clean in January sets a positive tone for the rest of the year, creating a hygienic and organized space that inspires healthy cooking and peaceful living. By dedicating time to this process now, you not only protect your investment in high-end finishes and appliances but also cultivate an environment where the entire family can thrive.
The Importance of a Sanitary Culinary Space
Before diving into the mechanics of scrubbing and polishing, it is vital to understand why deep kitchen cleaning is more than just an aesthetic preference. Over time, kitchens accumulate layers of grease, crumbs, and moisture that can become breeding grounds for bacteria and pests if left unchecked. Standard daily maintenance is crucial, but it rarely reaches the hidden crevices behind appliances or the deep corners of cabinetry where allergens can settle.
According to the Centers for Disease Control and Prevention (CDC), proper cleaning and sanitizing of surfaces is a fundamental step in preventing foodborne illnesses. Furthermore, a clean kitchen significantly impacts mental well-being. Cluttered countertops and stained surfaces can subconsciously increase stress levels, making the prospect of preparing meals feel like a chore rather than a joy. Consequently, investing effort into kitchen cleaning is an investment in your peace of mind. When the surfaces sparkle and every tool is in its place, the kitchen returns to its rightful status as a welcoming sanctuary for creativity and nourishment.
5 Ways to Master Deep Kitchen Cleaning
To tackle this project effectively, it helps to break the room down into manageable sections. By following a structured approach, you ensure that no area is overlooked and that the workload remains sustainable. Here are five essential methods to achieve a truly spotless kitchen.
1. Strategic Decluttering and Cabinet Organization
The first step in any heavy-duty kitchen cleaning project must be the removal of unnecessary items. It is impossible to deep clean surfaces that are covered in clutter. Successful kitchen cleaning relies on organization, so begin by emptying every cabinet and drawer, placing the contents on a dining table or island where they can be sorted. This process allows you to assess what you actually use versus what is merely taking up valuable space.
Once the cabinets are empty, vacuum the interiors to remove crumbs and dust. Follow this by wiping down the shelves with a mild disinfectant. As you return items to their places, check expiration dates on pantry goods and spices. Discard anything that is past its prime. This is also the perfect opportunity to reorganize; place frequently used items at eye level and relegate seasonal platters to higher shelves.
- Categorize items: Group baking supplies, canned goods, and spices together.
- Check for damage: Inspect dishware for chips or cracks that could harbor bacteria.
- Wipe containers: Ensure jars and bottles are not sticky before placing them back on the clean shelf.
- Donate unused appliances: If you haven’t used that bread maker in two years, consider donating it.
2. Comprehensive Appliance Detailing
Perhaps the most labor-intensive aspect of kitchen cleaning is addressing the major appliances. These workhorses of the home require more than a surface wipe; they need appliance detailing. This involves cleaning the internal components and the often-ignored exterior vents and coils. Start with the refrigerator. Remove all shelving and drawers, washing them in warm, soapy water. While they dry, wipe down the interior walls with a solution of baking soda and water to neutralize odors.
Next, turn your attention to the oven and stovetop. Appliance detailing here is critical for safety, as built-up grease can pose a fire hazard. If your oven has a self-cleaning cycle, utilize it, but be prepared to hand-scrub the racks and the glass door. For the stovetop, remove burners and knobs to clean beneath them. Do not forget the microwave; steam a bowl of water with lemon inside for five minutes to loosen dried food splatters before wiping.
- Vacuum refrigerator coils: Dust buildup here forces the fridge to work harder, shortening its lifespan.
- Clean the dishwasher filter: A clogged filter redeposits food particles onto “clean” dishes.
- Degrease the range hood: Soak the metal filters in hot, soapy water to remove sticky residue.
- Polish stainless steel: Use a specialized cleaner to remove fingerprints and protect the finish.
3. Sanitizing Countertops and Backsplashes
Your countertops see the most action, and therefore, they require specific attention during kitchen cleaning. Different materials require different care. For example, granite and marble are porous and can be damaged by acidic cleaners like vinegar. Instead, use a pH-neutral stone cleaner to protect the seal. Laminate and quartz are more forgiving but still require thorough sanitization to remove bacteria from raw meat or produce.
The backsplash is often neglected during routine cleaning, yet it collects grease splatters and sauce droplets regularly. Inspect the grout lines, as these porous areas absorb grease and can discolor over time. A paste of baking soda and water, scrubbed with a toothbrush, can work wonders on dingy grout.
- Clear the decks: Remove all appliances (toasters, coffee makers) to clean underneath them.
- Disinfect thoroughly: Allow disinfectant sprays to sit for the recommended time to effectively kill germs.
- Seal natural stone: If water no longer beads up on your granite, it may be time to reseal it.
- Clean under the lip: Don’t forget the underside of the countertop edge where spills often drip and dry.
4. Revitalizing the Sink and Garbage Disposal
The kitchen sink is ironically one of the dirtiest places in the home. During your deep kitchen cleaning session, the sink deserves a scrub that goes beyond the daily rinse. No kitchen cleaning checklist is complete without addressing the sink drains and stoppers. Stainless steel sinks can be polished with flour or a specialized compound to restore their shine, while porcelain sinks may need a gentle abrasive to remove metal marks from pots and pans.
The garbage disposal is a frequent source of unpleasant odors. To freshen it, pour a half-cup of baking soda down the drain, followed by a cup of vinegar. Let the mixture fizz for a few minutes, then flush with boiling water. Alternatively, grinding up citrus peels or ice cubes can help clean the blades and remove stuck-on debris.
- Scrub the faucet: Mineral deposits often build up around the base of the faucet; use vinegar to dissolve them.
- Clean the aerator: Unscrew the tip of the faucet and clean out any sediment blocking the flow.
- Disinfect the drain stopper: This small part often harbors significant bacteria.
- Check under the sink: Look for any signs of leaks or moisture damage while organizing cleaning supplies.
5. Deep Cleaning Floors and Baseboards
The final step in the “5 ways” approach to kitchen cleaning is the floor. Gravity ensures that everything from crumbs to splashes eventually lands here. Start by sweeping or vacuuming to remove loose debris. Then, if possible, carefully pull the refrigerator and stove away from the wall to clean the floor underneath. You will likely find a surprising amount of dust and lost items in these spaces.
When mopping, use a cleaner appropriate for your flooring type, whether it is hardwood, tile, or vinyl. Pay special attention to the corners and the baseboards. Baseboards in the kitchen accumulate a layer of dust mixed with airborne grease, creating a sticky residue that is difficult to remove with a simple dusting. You may need to hand-wash the baseboards with a degreasing agent to get them truly clean.
- Use two buckets: One for the cleaning solution and one for rinsing water to avoid spreading dirt.
- Scrub the grout: If you have tile floors, dirty grout can make the whole floor look dingy.
- Wash throw rugs: Launder any kitchen mats or rugs that trap dirt and grease.
- Check the kickplates: The area under the cabinets (toe kicks) is often scuffed and dirty.
Maintaining the Sparkle Year-Round
Once the heavy lifting of deep kitchen cleaning is complete, the goal shifts to maintenance. Keeping the kitchen in this pristine state requires a shift in daily habits. For instance, adopting a “clean as you go” philosophy while cooking prevents messes from piling up. Wiping down the stove immediately after use, before the surface cools and the spills harden, takes seconds but saves minutes of scrubbing later.
Additionally, scheduling smaller, focused cleaning sessions throughout the month can prevent the need for another marathon clean for quite some time. You might designate one week for appliance detailing and another for organizing the pantry. By rotating these tasks, the kitchen remains functional and hygienic without becoming overwhelming.
Consistency is key. When kitchen cleaning becomes a regular part of your routine rather than a dreaded annual event, the workload feels lighter. Furthermore, regular maintenance extends the life of your appliances and surfaces, saving money on repairs and replacements in the long run.
A Culinary Canvas Awaits
Completing a comprehensive deep clean is a satisfying achievement that transforms the atmosphere of your home. The air feels fresher, the surfaces gleam, and the space invites you to cook and gather with renewed energy. By prioritizing kitchen cleaning at the start of the year, you establish a standard of care and cleanliness that supports a healthy, happy lifestyle for you and your family, making kitchen cleaning a rewarding endeavor rather than just a chore.