
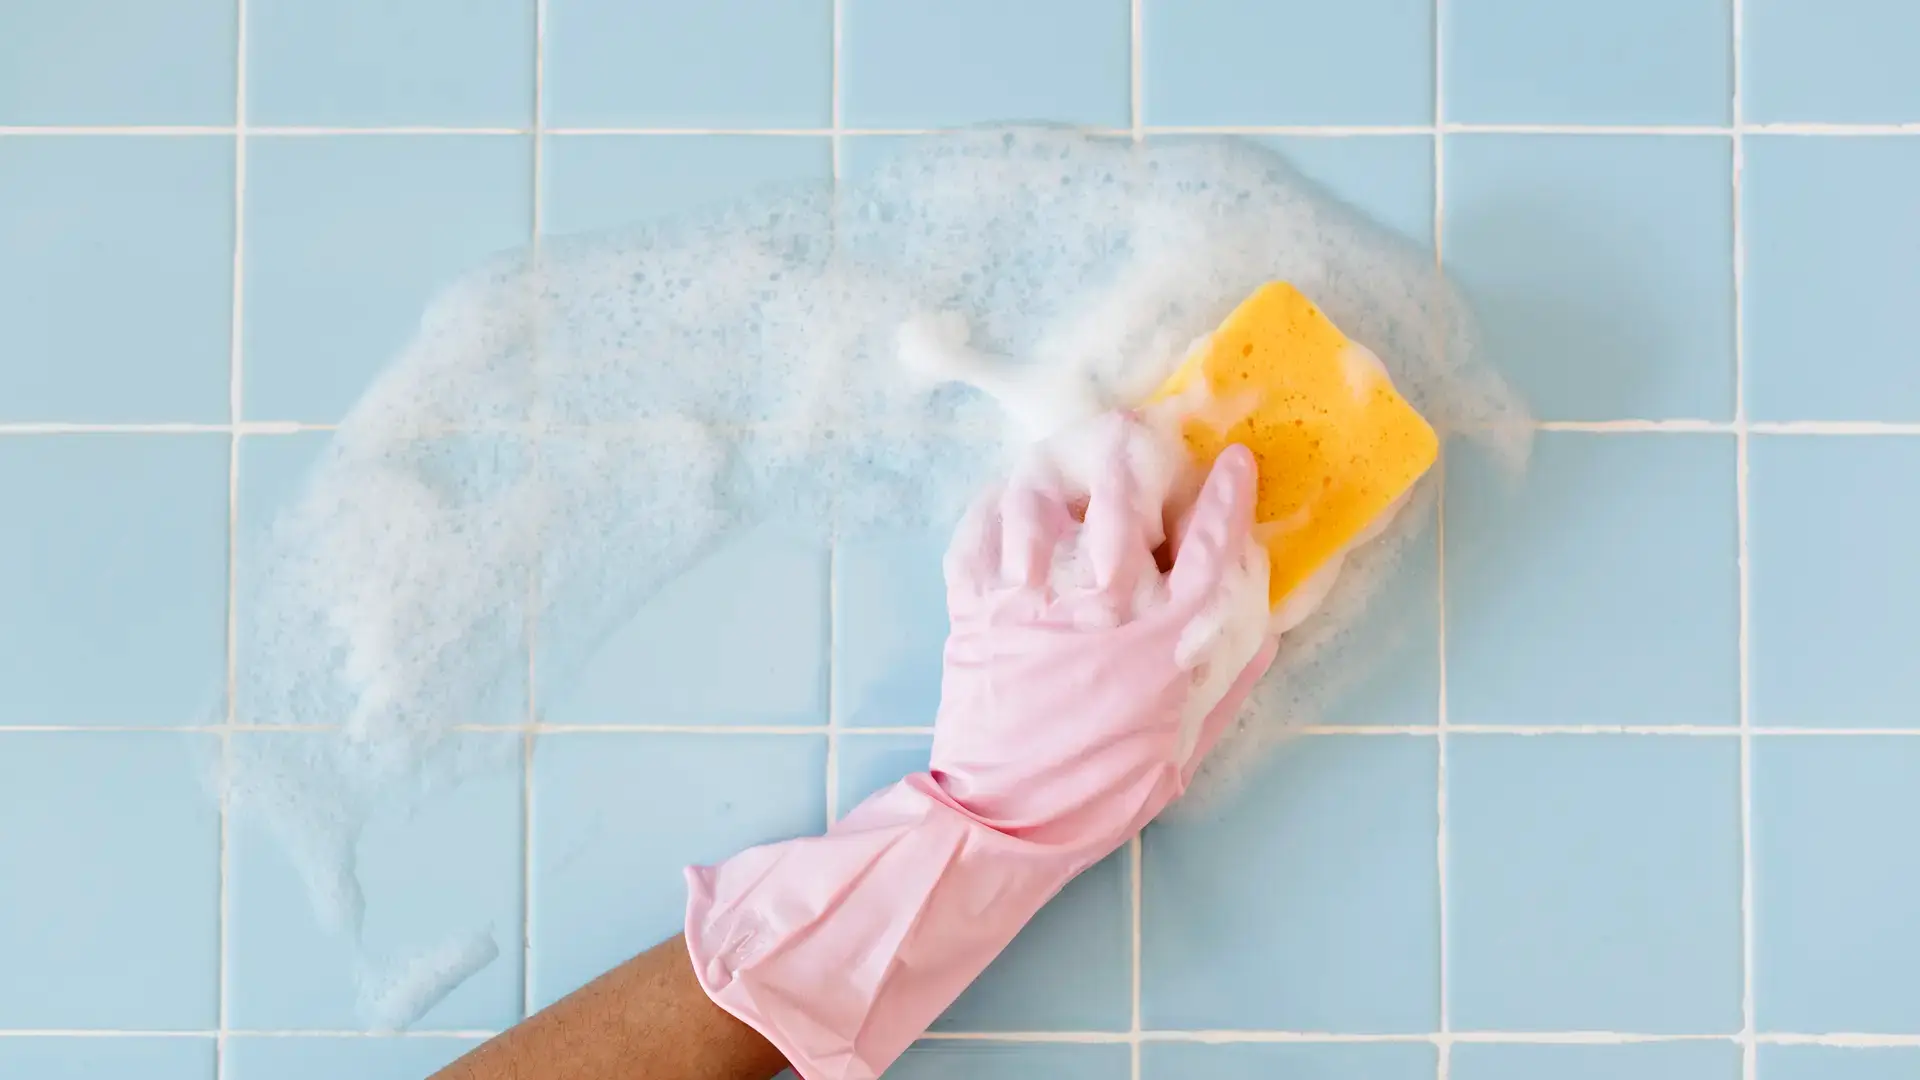
A shower that looks clean in the mirror can hide a surprising amount of buildup in the corners, grout lines, door tracks, and showerhead. Regular rinsing keeps visible surfaces looking decent, but soap scum, hard water deposits, and mildew accumulate in layers that a quick spray and wipe never fully removes.
Knowing how to deep clean shower surfaces properly, from the walls and floor to the door, tracks, and showerhead, takes the bathroom from surface-clean to genuinely clean. This guide covers each part of the shower in sequence, along with the products and tools that actually work for each surface type.
The fastest way to prepare for a shower deep clean
Wet the entire shower first, then apply a bathroom cleaner or a paste of baking soda and dish soap to all surfaces and let it sit for 10 to 15 minutes before scrubbing. This dwell time does most of the work: soap scum, mildew, and mineral deposits soften and lift far more easily after soaking than when attacked dry. Skipping the dwell time is the most common reason a deep clean shower session takes twice as long as it should.
Why regular rinsing isn’t enough
Every shower leaves behind a thin layer of soap, body oils, and minerals from the water itself. On smooth surfaces, this is easy to overlook. On grout, tile joints, and the door frame, it builds up into a visible film over weeks. In humid climates or poorly ventilated bathrooms, mildew forms in the grout lines and around the base of the shower faster than most people notice until it has already established itself.
A deep clean shower routine targets these layers specifically, not just the surfaces that look dirty from a distance.
How to deep clean a shower step by step
Step 1: clear the shower completely
Remove all shampoo bottles, soap dishes, razors, and accessories before starting. Cleaning around items takes twice as long and misses the surfaces underneath. Place everything outside the shower for the duration of the clean.
Step 2: wet surfaces and apply cleaner
Rinse the entire shower with warm water to wet all surfaces, then apply your chosen cleaner. A commercial bathroom spray works for routine buildup. For heavier soap scum or mineral deposits, a paste of baking soda and dish soap, or a dedicated soap scum remover, gives more cleaning power. Apply to walls first, then the floor, then the door.
Step 3: let it sit and deep clean shower walls
Allow the cleaner to dwell for 10 to 15 minutes, then scrub the walls with a non-scratch scrubber or a soft brush. Work from the top down so loosened residue falls onto surfaces not yet cleaned. Pay particular attention to the grout lines, where buildup concentrates and a stiff grout brush makes a visible difference compared to a sponge.
Step 4: tackle shower grout cleaning
Grout is the part of a shower deep clean most people find most demanding and most rewarding. Discolored grout, usually white, gray, or off-white with a dark haze, almost always responds well to a baking soda paste applied with a stiff brush and left to sit for 5 to 10 minutes before scrubbing. For grout that has gone dark with mildew, a diluted bleach solution brushed in and left for a few minutes before rinsing is more effective. Always rinse thoroughly after any bleach application.
Step 5: remove soap scum from shower doors
Glass shower doors are often the most visible indicator of whether a shower has been properly cleaned. Soap scum on glass appears as a hazy, chalky film that gets more obvious when the door is wet.
To remove soap scum from a shower door:
- Spray the glass with white vinegar or a dedicated glass cleaner
- Let it sit for 5 minutes
- Scrub with a non-scratch pad in circular motions
- Rinse fully with warm water
- Dry with a microfiber cloth to prevent new water spots
For heavy buildup, a paste of baking soda left on the glass for 10 minutes before scrubbing handles what vinegar alone cannot.
Step 6: clean shower door tracks
The tracks at the base of sliding shower doors collect one of the worst combinations in any bathroom: soap scum, hair, hard water, and mildew, all in a channel so narrow that most cleaning tools cannot reach the bottom. A few techniques that work:
- Lay a strip of paper towels soaked in vinegar inside the track and leave them for 30 minutes, then scrape out the loosened residue with an old toothbrush
- Use a cotton swab dipped in diluted bleach for mold that has settled into the corners of the track
- Dry the track thoroughly afterward, since moisture left in the channel speeds up the return of mildew
This is one of the steps most people skip and one of the most visible improvements when done properly.
Step 7: clean the showerhead
A showerhead clogged with mineral deposits delivers uneven water pressure and, in some cases, harbors bacteria in the buildup. Unscrew the showerhead if possible and soak it in a bowl of white vinegar for 30 to 60 minutes. If it cannot be removed, fill a plastic bag with vinegar, place it over the showerhead so the face is submerged, and secure with a rubber band. The mineral deposits dissolve in the acid and rinse away when the water is turned back on.
Step 8: scrub and rinse the floor
Shower floors, especially textured ones designed to prevent slipping, trap more soap and mineral residue than the walls because water pools there rather than running off. A stiff brush with a baking soda paste, scrubbed in circles across the floor and left for 10 minutes before rinsing, handles most buildup. For grout on the floor specifically, the same approach as the walls applies: a dedicated grout brush and a longer dwell time for stained areas.
Step 9: final rinse and dry
Rinse every surface from top to bottom with warm water, making sure all cleaner residue is removed. Dry the glass door and any chrome fixtures with a microfiber cloth to prevent water spots from forming immediately after the clean. Leaving the shower door or curtain open for 20 to 30 minutes after cleaning allows the space to air dry, which slows the return of mildew significantly.
How to deep clean shower surfaces by material type
Not every shower is made of the same material, and the approach changes slightly depending on what the walls and floor are made of.
- Ceramic and porcelain tile: The most common and most forgiving. Standard bathroom cleaners, baking soda paste, and diluted bleach all work without damaging the surface. The grout is the main concern.
- Natural stone (marble, travertine, slate): Avoid acidic cleaners including vinegar and citric acid, which etch the stone permanently. Use a pH-neutral cleaner and a soft cloth rather than an abrasive scrubber.
- Fiberglass and acrylic surrounds: Gentle is essential here. Abrasive pads and powders scratch these surfaces and make them harder to keep clean over time. A mild dish soap and a soft sponge handle most buildup without damage.
- Glass tile: Treat similarly to ceramic tile but with extra attention to water spots, since glass shows mineral deposits more readily than opaque tile.
Identifying the material before choosing a product prevents the kind of damage that no amount of deep clean shower effort can reverse.
How often should you deep clean a shower
A full deep clean shower session every four to six weeks keeps buildup manageable. Showers used daily by multiple people, or bathrooms without a window or strong ventilation fan, benefit from a shorter interval of every two to three weeks. Between deep cleans, a quick spray and wipe after showering removes enough of the daily soap layer to keep the deeper clean from being as difficult the next time.
What professional cleaners notice in showers during recurring visits
During regular home cleaning visits, the shower is one of the areas where the difference between a surface wipe and a genuine deep clean is most visible. The grout color, the condition of the door tracks, and the presence or absence of a soap scum line across the glass all tell a clear story about when the last thorough clean happened.
One pattern that comes up consistently: the upper corners of a tiled shower, near the ceiling line, often develop mildew spots before any other area, especially in bathrooms where the fan runs only during the shower rather than for several minutes after. These spots are easy to miss from normal standing height and tend to be the source of the musty smell a bathroom develops when there is no obvious visible cause at eye level.
According to the CDC’s guidelines on preventing mold and mildew in the home, keeping surfaces dry and ventilation active after showering are among the most effective ways to prevent mold growth, which directly supports the habit of leaving the door open and running the fan after a shower.
Frequently asked questions about deep cleaning a shower
How do I remove hard water stains from a shower?
White vinegar applied directly and left for 15 to 30 minutes dissolves most mineral deposits. For heavier buildup, a commercial lime and scale remover or a paste of citric acid powder and water works faster than vinegar alone.
Can I use bleach to deep clean shower grout?
Yes, diluted bleach is effective for grout that has gone dark with mildew. Apply carefully, avoid contact with chrome fixtures and colored grout, and rinse thoroughly. Never combine bleach with vinegar or other cleaners.
How do I keep a glass shower door cleaner for longer?
A daily squeegee after every shower removes most of the soap and water that creates buildup. A spray of diluted vinegar once a week, followed by a quick wipe, prevents the gradual film that makes deep cleaning so much harder.
What is the best tool for shower grout cleaning?
A stiff-bristled grout brush designed for narrow joints gives better results than a toothbrush or a general scrubber. Paired with a baking soda paste or a dedicated grout cleaner, it removes buildup that other tools simply cannot reach at the right angle.
How do I remove mold from shower caulk?
Apply a diluted bleach solution directly to the caulk line, let it sit for 10 minutes, then scrub and rinse. If the mold has penetrated deep into the caulk material itself and does not come out, the caulk may need to be removed and reapplied rather than cleaned.
Making shower cleaning a sustainable habit
The gap between a shower that needs a two-hour deep clean and one that needs a 20-minute touch-up is almost entirely about consistency. A few minutes after each shower, a weekly vinegar spray, and a full deep clean shower session once a month keeps the work manageable and the results visible.
For households that want the bathroom and the rest of the home held to the same standard without the time investment, a residential cleaning plan covers the regular upkeep, and a deep cleaning service handles the kind of detailed session this guide describes, from grout to glass to showerhead.