
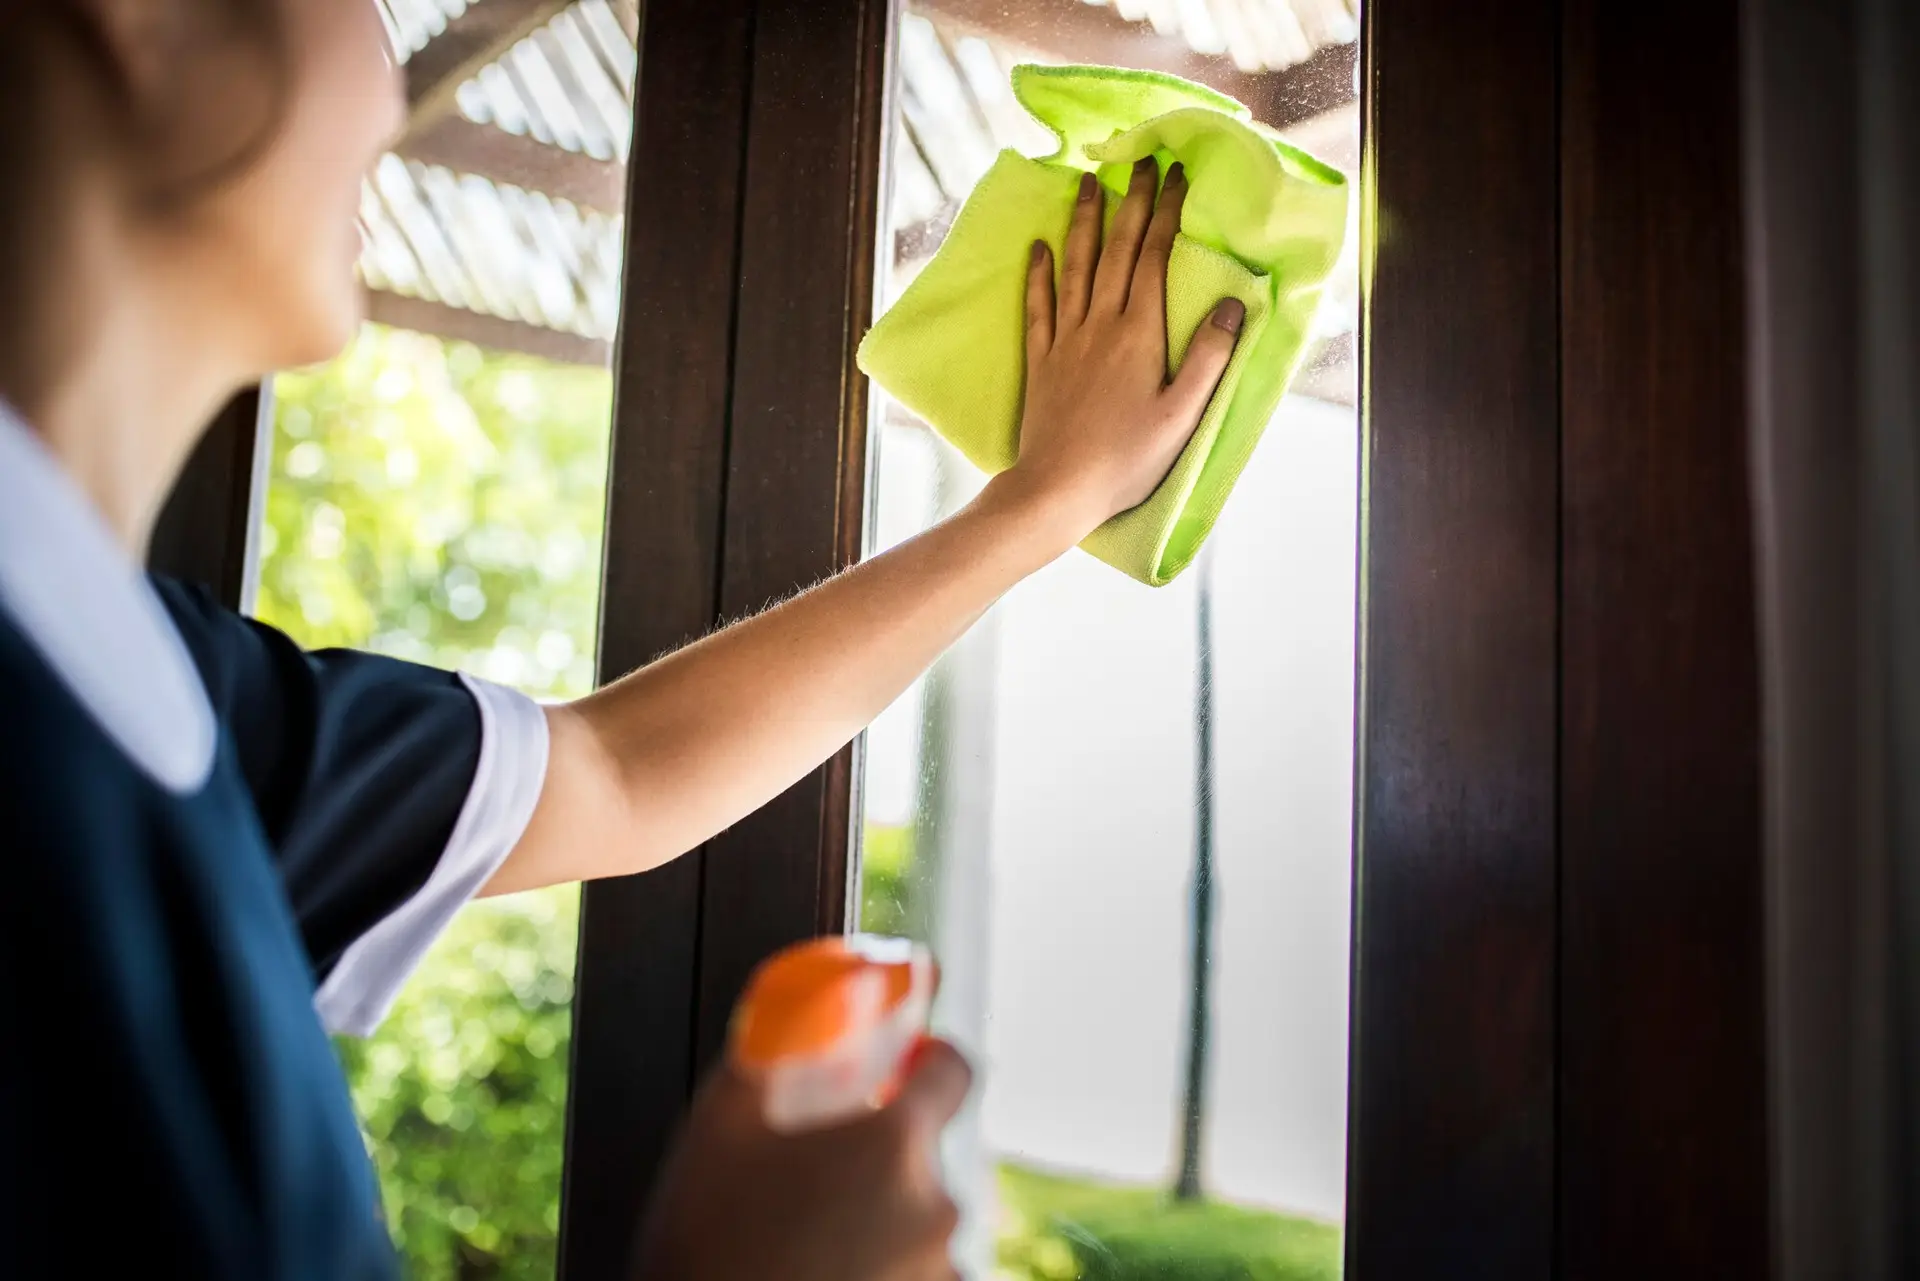
A home with clean windows feels brighter and more inviting. Natural light streams in, making rooms feel larger and more open. However, achieving truly spotless, streak-free interior glass can sometimes seem like a challenge. Many people struggle with smudges, streaks, or lingering dirt that detracts from their home’s overall appearance.
This guide provides essential tips and techniques to help you master interior window cleaning. We will cover everything from preparing your space to choosing the right tools and applying professional methods. By following these steps, you can ensure your windows sparkle, enhancing your living environment and boosting your home’s appeal.
Preparing for Flawless Interior Glass Cleaning
Before you even touch a cleaning solution, proper preparation is crucial. This initial stage sets the foundation for successful interior window cleaning. Skipping these steps often leads to more work later or less-than-perfect results. Therefore, taking a few moments to get everything ready will save you time and effort in the long run. Moreover, it helps protect your home and ensures a smoother cleaning process.
Gathering Your Essential Interior Window Cleaning Tools
Having the right tools makes a significant difference. You do not need a vast array of specialized equipment. Instead, focus on quality items that perform well. A good set of tools simplifies the task and helps achieve professional results. Consequently, investing in these basic supplies is a smart move for any homeowner. Furthermore, proper tools prevent damage to your windows and surrounding areas.
Here is a list of what you will need:
- Two Microfiber Cloths: These are superior to paper towels. Microfiber cloths absorb well and leave no lint. Therefore, they are ideal for streak-free drying.
- Squeegee (Optional but Recommended): A high-quality squeegee can speed up the process. It is especially useful for larger windows. However, ensure you have a clean rubber blade.
- Two Buckets: One bucket holds your cleaning solution. The other holds clean rinse water. This separation prevents cross-contamination.
- Mild Dish Soap or Commercial Glass Cleaner: Choose a product designed for glass. Avoid harsh chemicals that might leave residues.
- Warm Water: Warm water helps dissolve dirt and grime more effectively.
- Vacuum Cleaner or Dust Brush: Use this for initial dust removal.
- Drop Cloths or Towels: Protect your floors and furniture from drips.
- Ladder or Step Stool: Reach high windows safely. Always prioritize safety when working at heights.
Clearing the Area for Meticulous Home Cleaning
A clear workspace is an efficient workspace. Remove any obstacles that might get in your way. This step prevents accidents and allows you to move freely. Consequently, you can focus entirely on the task at hand. Moreover, it protects your belongings from accidental splashes or damage.
- Move Furniture: Pull chairs, tables, other items away from the windows. This creates ample space to work.
- Remove Decorations: Take down curtains, blinds, and any window treatments. Also, remove plants or decorative items from sills.
- Lay Down Protection: Place drop cloths or old towels on the floor beneath the windows. This catches any drips or spills.
- Dust the Sills and Frames: Use a vacuum cleaner with a brush attachment or a dry cloth. Remove loose dust, cobwebs, and debris. This prevents dirt from transferring to your clean glass.
Mastering the Art of Spotless Interior Window Cleaning
Once your area is prepped and your tools are ready, you can begin the actual cleaning. The key to spotless results lies in technique and consistency. Remember, patience and attention to detail will yield the best outcome. Therefore, approach each window systematically.
1. Initial Dusting and Debris Removal
Before applying any liquid, ensure the window surface is free of loose dirt. This is a critical first step for effective interior window cleaning. Skipping this can turn dust into muddy streaks when wet. Consequently, your efforts will be wasted.
- Use a Dry Microfiber Cloth: Gently wipe down the entire glass surface. This removes surface dust and light grime.
- Vacuum Crevices: Use a small brush attachment on your vacuum. Clean out window tracks and corners. This eliminates trapped dirt.
- Wipe Frames: Clean the window frames with a damp cloth. This prevents dirt from the frame from dripping onto the glass later.
2. Crafting Your Perfect Cleaning Solution
The right cleaning solution is fundamental for achieving streak-free interior glass cleaning. You do not need harsh chemicals. A simple, effective mixture works wonders. Furthermore, making your own solution can be more cost-effective and environmentally friendly.
- Dish Soap Method: Fill one bucket with warm water. Add a few drops of mild dish soap. Stir gently until suds form. This creates a powerful yet gentle cleaner.
- Vinegar Solution (Optional): For a natural alternative, mix equal parts white vinegar and warm water. Add a few drops of essential oil if you dislike the vinegar smell. However, be cautious with vinegar around certain stone surfaces.
- Commercial Cleaner: If using a store-bought glass cleaner, follow the product instructions. Always choose a reputable brand for exceptional residential cleaning results.
3. Applying the Solution Evenly
Proper application ensures the solution breaks down dirt effectively. Do not oversaturate the window. Instead, aim for even coverage. This step is vital for thorough interior window cleaning.
- Wet a Microfiber Cloth: Dip one of your clean microfiber cloths into your cleaning solution. Wring it out thoroughly. It should be damp, not dripping wet.
- Wipe the Window: Start at the top of the window. Wipe in an “S” pattern or overlapping strokes. Work your way down. Ensure you cover the entire glass surface.
- Address Stubborn Spots: For tougher grime or sticky residue, let the solution sit for a minute. Then, gently scrub with the damp cloth. Avoid abrasive scrubbers that could scratch the glass.
4. The Squeegee Technique for Streak-Free Results
Using a squeegee is a professional secret for flawless interior window cleaning. It removes the cleaning solution and dirt in one smooth motion. This minimizes streaks and leaves a sparkling finish. However, practice makes perfect with this tool.
- Start at the Top: Position the squeegee blade firmly against the top edge of the window. Angle it slightly.
- Pull Downward: Apply even pressure. Pull the squeegee straight down in a single, continuous stroke.
- Overlap Strokes: For the next stroke, overlap the previous one by about an inch. This ensures no gaps are left.
- Wipe the Blade: After each stroke, wipe the squeegee blade clean with your second, dry microfiber cloth. This prevents transferring dirty water back onto the glass.
- Edge Cleaning: For the final edges, you might need to use the clean, dry microfiber cloth. Carefully wipe away any remaining water droplets.
5. Polishing with a Dry Microfiber Cloth
Even without a squeegee, a dry microfiber cloth is essential. It provides the final polish and catches any remaining moisture. This step is crucial for achieving truly spotless interior window cleaning. It ensures a brilliant, streak-free shine.
- Use a Fresh, Dry Cloth: Take your second, completely dry microfiber cloth.
- Buff the Glass: Gently buff the entire window surface. Use small, circular motions. This removes any lingering streaks or water spots.
- Check from Different Angles: Step back and look at the window from various angles. This helps you spot any missed areas or faint streaks. Address them immediately with your dry cloth.
6. Don’t Forget the Details: Sills and Tracks
A truly clean window includes its surroundings. Neglecting sills and tracks detracts from the overall effect. This attention to detail is part of professional home upkeep. It ensures a complete and polished look.
- Wipe Sills: Use a damp cloth to wipe down the window sills. Remove any dust, dirt, or water marks.
- Clean Tracks: For window tracks, use a cotton swab or a small brush. Dip it in your cleaning solution. Get into the grooves to remove trapped dirt and grime. A vacuum cleaner with a crevice tool can also be very effective here.
- Dry Thoroughly: Ensure all sills and tracks are completely dry. This prevents mold or mildew growth.
7. The Best Time for Interior Window Cleaning
Timing can significantly impact your results. Cleaning windows on a sunny day might seem logical. However, direct sunlight can cause cleaning solutions to dry too quickly. This often leads to frustrating streaks. Therefore, choosing the right time is a smart strategy for effective interior window cleaning.
- Overcast Days: The best time to clean windows is on a cloudy or overcast day. The slower drying time allows you to work without the solution evaporating too fast. This helps prevent streaks.
- Morning or Evening: If an overcast day is not an option, clean in the early morning or late evening. These times avoid the harshest direct sunlight.
- Avoid Extreme Temperatures: Do not clean windows in extremely cold or hot weather. Extreme cold can freeze the solution. Extreme heat causes rapid drying.
Advanced Tips for Exceptional Residential Cleaning Results
Beyond the basic steps, a few extra considerations can elevate your interior window cleaning game. These tips address common challenges and help you maintain that pristine look longer. Consequently, your home will consistently boast a spotless home environment.
Dealing with Stubborn Stains and Residues
Sometimes, windows have more than just dust and grime. Paint splatters, sticker residue, or hard water spots require special attention. Addressing these effectively is part of detailed cleaning.
- Paint Splatters: For dried paint, gently scrape it off with a plastic scraper or a razor blade. Always hold the blade at a shallow angle. Be extremely careful not to scratch the glass. You can also try softening the paint with a little rubbing alcohol or nail polish remover on a cotton ball, then wiping it away.
- Sticker Residue: Apply a small amount of rubbing alcohol, Goo Gone, or even cooking oil to the residue. Let it sit for a few minutes. Then, gently rub it off with a cloth.
- Hard Water Spots: Mix equal parts white vinegar and water. Apply this solution to the spots. Let it sit for 5-10 minutes. Then, scrub with a non-abrasive pad or a microfiber cloth. For very stubborn spots, a paste of baking soda and water can be effective. Apply, let sit, then gently scrub.
Maintaining Your Interior Window Cleanliness
Regular maintenance prevents dirt buildup. This makes future interior window cleaning tasks much easier. A consistent approach ensures your windows always look their best.
- Weekly Dusting: Quickly dust your window sills and frames weekly. This prevents dust from accumulating and settling on the glass.
- Spot Cleaning: Address smudges or fingerprints as soon as you notice them. A quick wipe with a dry microfiber cloth or a spritz of glass cleaner can keep things tidy.
- Regular Deep Cleans: Aim for a thorough interior window cleaning every few months. This schedule keeps your windows consistently sparkling.
The Benefits of Professional Assistance
While these tips empower you to clean your windows effectively, sometimes professional help is invaluable. Especially for large homes, hard-to-reach windows, or when time is scarce, a professional service offers significant advantages. They bring expertise, specialized equipment, and efficiency. For instance, many reputable cleaning companies offer comprehensive services that include meticulous window care, ensuring exceptional results without the hassle.
Professional cleaners have the experience to tackle even the toughest window challenges. They use industrial-strength tools and solutions that are not always available to the average homeowner. Furthermore, they can complete the job quickly and safely, especially for exterior windows or those on upper floors. This ensures a truly spotless home environment with minimal effort on your part.
The Amazing Impact of Sparkling Interior Window Cleaning
Achieving truly clean windows transforms your home. It allows more natural light to flood your living spaces, creating a brighter, more uplifting atmosphere. Furthermore, it enhances your view of the outside world, making your home feel more connected to its surroundings. The effort you put into interior window cleaning pays off with a noticeable improvement in your home’s overall aesthetic and feel.
By following these seven tips, you are well-equipped to tackle interior window cleaning with confidence. From proper preparation and tool selection to mastering the squeegee technique and addressing stubborn stains, you now have a comprehensive guide. Remember, consistency and attention to detail are key to maintaining that pristine look. Embrace these methods, and enjoy the amazing clarity and brilliance that spotless interior window cleaning brings to your home.