Bathroom tiles and grout are constantly exposed to moisture, soap residue, body oils, and minerals, making them breeding grounds for microbes and sources of discoloration. Achieving a truly clean, sanitized bathroom requires using the right tools and techniques. This complete guide outlines the best cleaning agents and methods to keep your tile work protected and sparkling.
Why Tile Cleaning Matters
Regular, focused tile and grout cleaning is essential not just for aesthetics, but for the long-term health and integrity of your bathroom structure.
Preventing Mold and Mildew Buildup
The primary concern in any shower or floor area is the proliferation of mold and mildew. These fungi thrive in the warm, humid environment of a bathroom and feed on the soap scum, shampoo residue, and shed skin cells that settle on the tiles and within the grout lines.
- Health Implications: Mold spores can become airborne, potentially triggering allergies, asthma symptoms, and respiratory issues.
- Sanitization: Cleaning with disinfecting agents breaks down the organic matter that mold feeds on, effectively sanitizing the surface and stopping the fungal growth cycle.
Extending the Life of Your Grout and Tiles
Soap scum and hard water leave behind mineral deposits (calcium and magnesium) that are alkaline or neutral in nature. If left to harden, these deposits become highly abrasive and require aggressive cleaning that can prematurely degrade the grout sealant.
- Grout Protection: Grout, especially the cement-based type, is highly porous. Once the protective sealant is compromised by harsh chemicals or constant scrubbing against caked-on residue, it becomes vulnerable to staining, etching, and eventual structural breakdown.
- Tile Finish: Regular cleaning removes dulling film, preserving the original shine and color of ceramic and porcelain tiles.
Best Tile Cleaning Products
The best cleaner for your bathroom depends entirely on the type of tile you have. Always check the manufacturer’s recommendations, especially for natural stone.
Commercial Cleaners Safe for Ceramic, Porcelain, and Stone
When selecting a commercial product, always ensure it is labeled specifically for bathroom use and suitable for your tile type.
| Tile Type | Recommended Cleaner Type | Avoid at All Costs |
| Ceramic & Porcelain | General-purpose, pH-neutral bathroom cleaner or mild alkaline cleaner. | Cleaners containing hydrofluoric acid (often found in heavy-duty rust removers), as they can destroy the glaze. |
| Natural Stone (Marble, Travertine, Slate) | Strictly pH-Neutral stone cleaner. Specialized formulas contain non-acidic surfactants. | Vinegar, lemon juice, ammonia, and standard acidic bathroom cleaners, as they will etch and permanently dull the stone’s surface. |
| Grout | Oxygen bleach-based cleaners (read labels carefully). | Chlorine bleach if your grout is colored, as it can cause fading. |
Natural DIY Solutions – Vinegar, Baking Soda, Lemon
For environmentally conscious cleaning or mild buildup, simple household ingredients can be highly effective.
| DIY Solution | Purpose | Application Notes |
| Baking Soda Paste | Mild abrasive scrub and deodorizer. Highly effective on stubborn grout lines. | Mix $1/2$ cup of baking soda with a few tablespoons of warm water until a thick paste forms. Apply directly to grout, scrub, and rinse thoroughly. |
| Distilled White Vinegar | Cuts through hard water and soap scum; mild disinfectant (due to acetic acid). | Mix equal parts vinegar and water ($50\%/50\%$) in a spray bottle. Spray on tiles, let sit for $10$ minutes, then scrub and rinse. |
| Lemon Juice | Similar acidic properties to vinegar, leaving a fresh citrus scent. | Use the same dilution ratio as vinegar. Useful for deodorizing drains and small spots. WARNING: Never use on natural stone. |
Step-by-Step Tile Cleaning Guide
Follow this systematic approach for efficient and deep tile cleaning that protects your surfaces.
Apply Cleaner, Let It Sit, Scrub, and Rinse
The most common mistake in cleaning is not allowing the product enough “dwell time” to work.
- Preparation: Clear the area of all bath products, towels, and rugs.
- Application: Apply your chosen cleaning solution evenly across the tile surface.
- Dwell Time: Allow the product to sit for at least $5$ to $10$ minutes. This permits the surfactants (in commercial cleaners) or the acid/base (in DIY cleaners) to penetrate and loosen the soil, dirt, and mineral deposits.
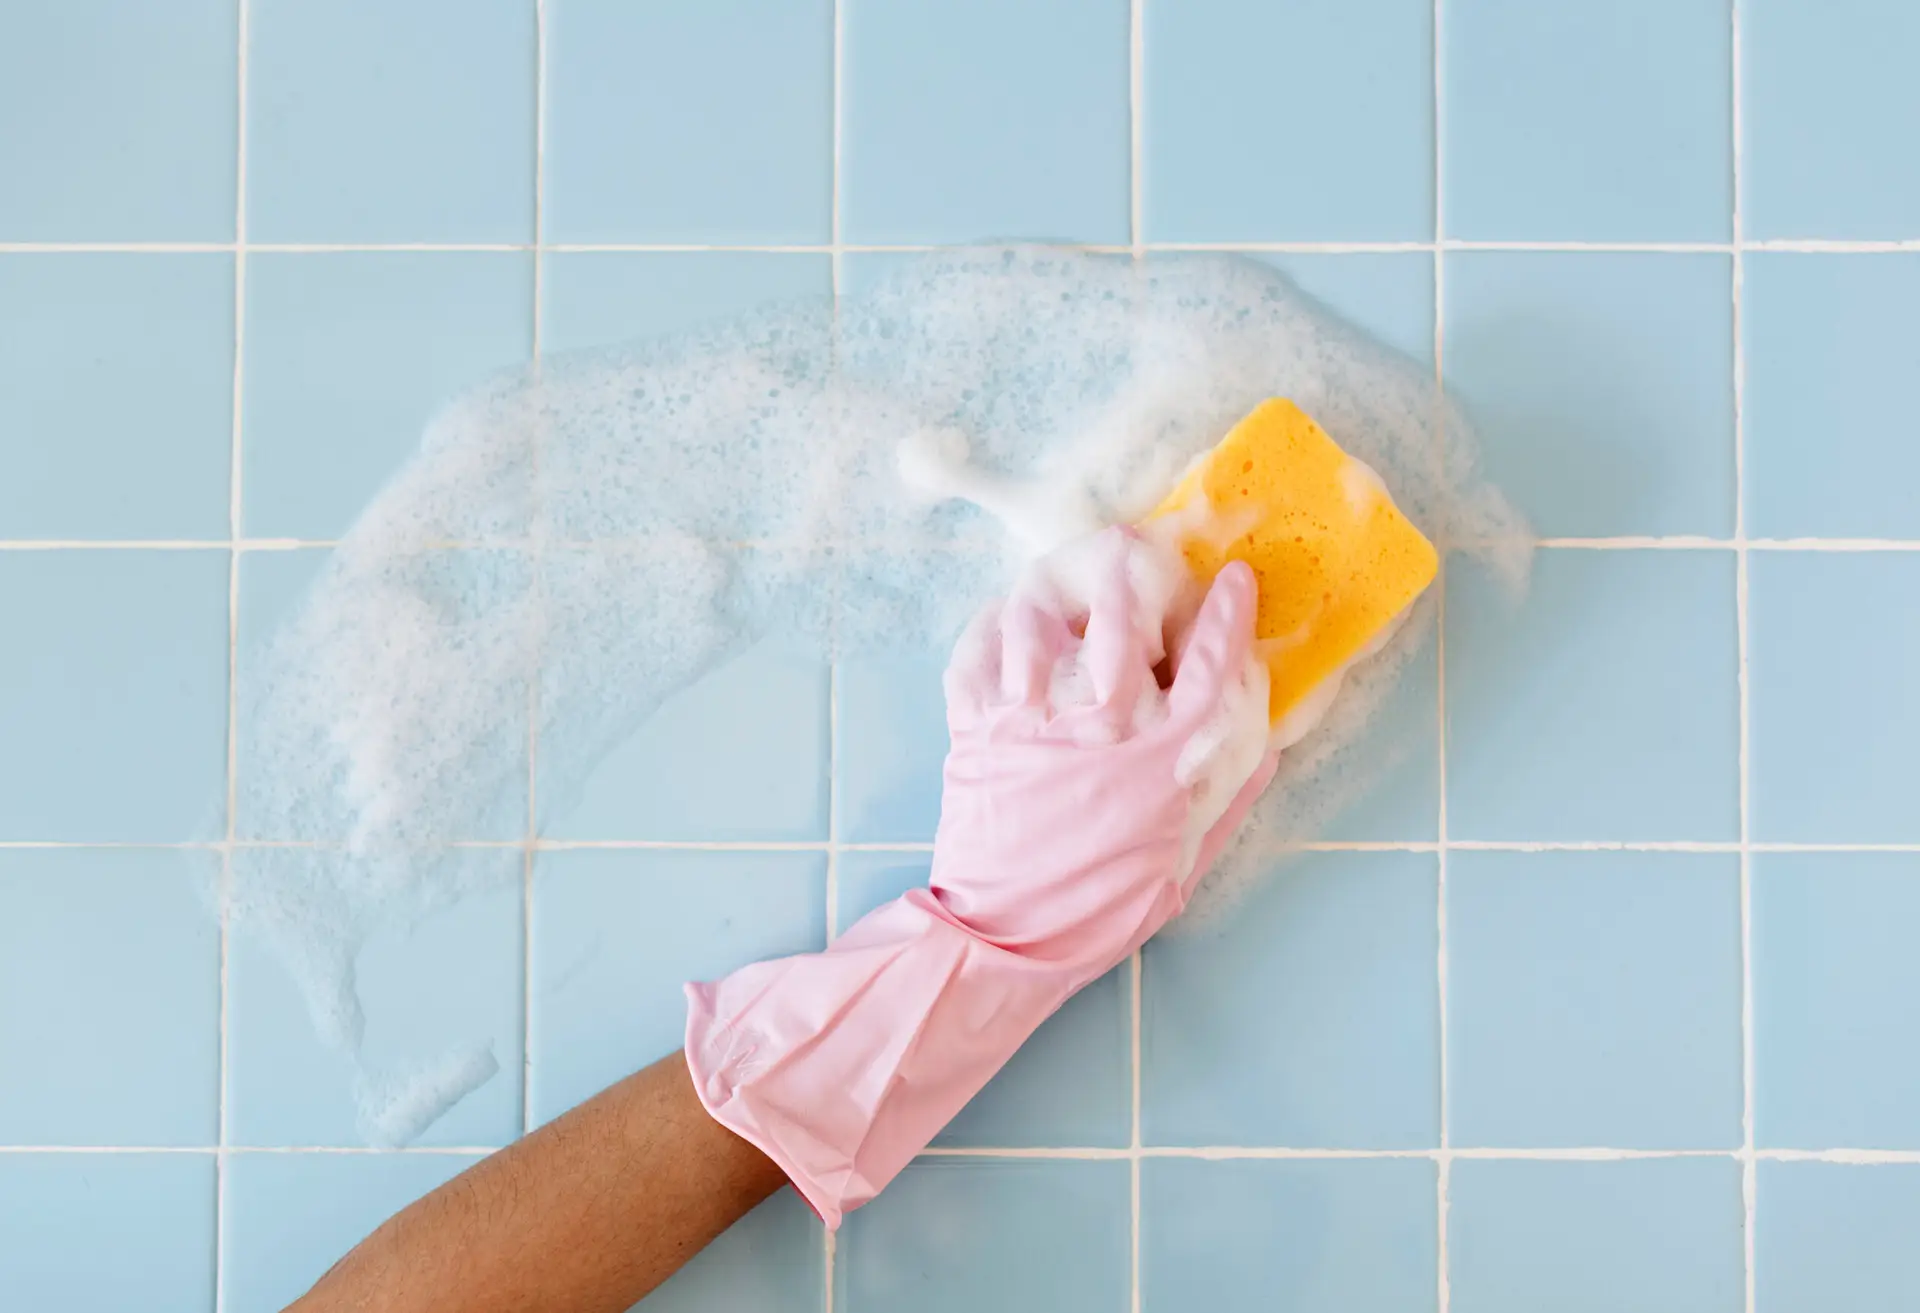
- Scrubbing: Using a soft-bristle scrub brush or non-abrasive sponge, scrub the tiles. Start from the top of the wall and work your way down to prevent dripping dirty water onto clean surfaces.
- Rinsing is Mandatory: Using a sponge or microfiber cloth and clean water, thoroughly rinse the entire surface until all soap residue and cleaning product are removed. Residue left behind will attract dirt faster and lead to a cloudy film.
Use a Toothbrush for Grout Lines
Grout lines require targeted attention due to their porous nature and recessed position.
- Use a dedicated grout brush (a long, narrow brush with stiff nylon bristles) or an old toothbrush.
- Apply the baking soda paste or a specialized grout cleaner directly into the lines.
- Scrub vigorously along the line, not across it, to force the cleaner deep into the pores.
- Rinse with clean water immediately after scrubbing to prevent the loosened dirt from being reabsorbed by the grout.
Common Tile-Cleaning Mistakes
Avoiding these common errors will save you time, protect your home, and ensure safety.
Avoid Bleach on Colored Grout
Standard liquid bleach (sodium hypochlorite) is a powerful disinfectant but is notorious for stripping the color from tinted or pigmented grout sealants. If you have colored grout, always opt for oxygen bleach (such as hydrogen peroxide or a sodium percarbonate powder mixed with water). Oxygen bleach is highly effective at sanitizing and fighting mildew without the harsh bleaching effect on color.
Don’t Mix Acidic and Alkaline Products
Safety is paramount. Never mix two different types of cleaning products. The most dangerous combination is mixing chlorine bleach (alkaline) with any cleaner containing ammonia (alkaline) or vinegar (acidic).
- Bleach + Acid (Vinegar/Lemon): Produces highly toxic chlorine gas.
- Bleach + Ammonia: Produces toxic chloramine gas.
Only use one cleaning product at a time, and ensure the area is well-ventilated during and after use.
FAQs
Can I use steam cleaners on bathroom tiles?
Absolutely. Steam cleaning is one of the most effective methods for sanitizing non-porous bathroom tiles (ceramic and porcelain) and grout. The high temperature ($>200^\circ\text{F}$) penetrates the grout, dissolves soap scum and hard water deposits, and kills bacteria and mold spores without the need for chemicals. Ensure you wipe away the loosened residue immediately after steaming.
How often should I deep clean bathroom tiles?
Your cleaning schedule should be broken into two parts:
- Maintenance Cleaning (Weekly): A quick scrub with a general disinfectant or soap scum remover to remove daily residue and wipe down high-splash areas (inside the shower).
- Deep Cleaning (Quarterly): A comprehensive focus on the grout lines, using a specialized cleaner and brush to lift deeply embedded soil, followed by a fresh application of grout sealant (recommended annually).
Ready to transform your routine?
If the thought of scrubbing grout is making you tired, let the professionals handle it. Contact Clean Day Maids today to schedule your first deep cleaning service and experience the difference of truly sanitized, sparkling bathroom tiles!